Hello and welcome back to my blog.
This week marks the last challenge in our countdown to Christmas. I hope you enjoyed all the DT inspiration during our countdown and a big thank you to all of you who joined in. Our final theme for this year is
Tags, Toppers and Labels.
We would love to see your gift tags, toppers or labels you have created to adorn your presents. They can be as simple or as detailed as you like.
I love creating tags for my gifts as it just gives them that extra special touch. I created my tag using a tag die. I then added some patterned papers in the background. I then die cut a circle out of another sheet of patterned paper and a snowflake out of glitter card. I glued the snowflake to the circle and the adhered that to my gift tag cutting away any access overhang.

I hope you enjoyed your visit today and are inspired to join in the fun. I would just like to say a big thank you to all you wonderful people who took part in our challenges throughout the year. We'll be back with a fabulous Elemental Inspiration Picture to kick-start a Crafty New Year for you on Friday January 8th, so please make a note in your diary and we'll hope to see you then. This week's challenge will remain open until then. In the meantime I wish you all a very Merry Christmas and a happy, healthy and prosperous New Year.

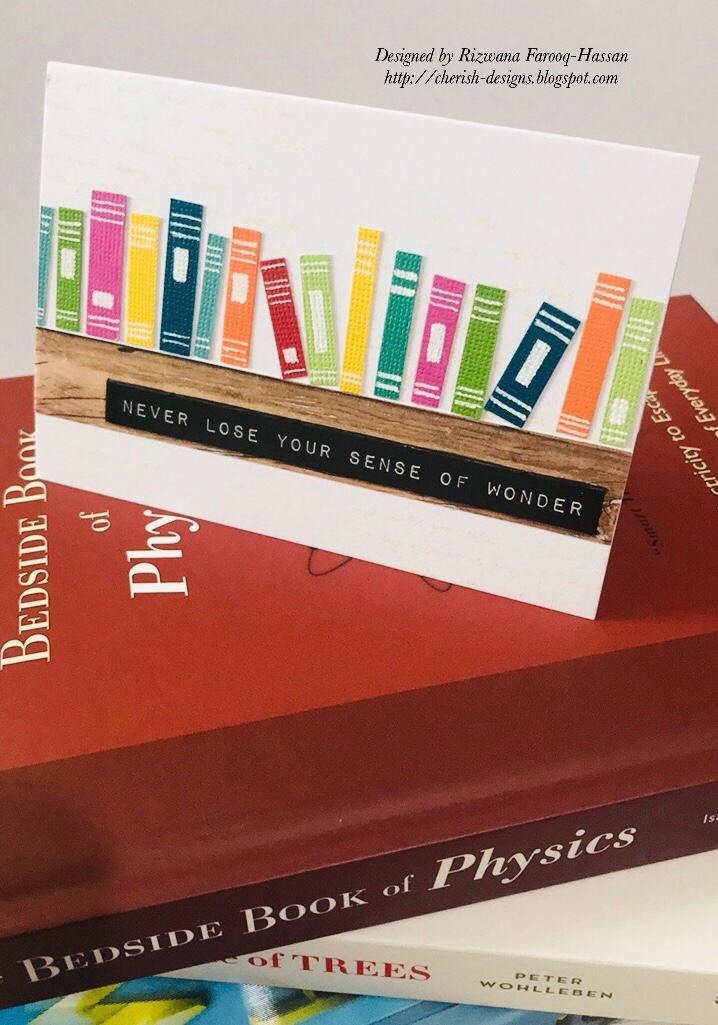
I hope you enjoyed my take on this weeks challenge. Show us some of your creations and don't forget to share on the Daring Cardmakers blog or our Facebook page Daring Cardmakers Create and Share.
Thank you so much for stopping by and I wish you all a very happy weekend. Check out all the inspiration from the DT over on the Daring Cardmakers blog https://daringcardmakers.blogspot.com
Crafty Hugs,
Rizwana